Saturday, July 20, 2019

Scrappy Pineapple Progress

I spent time this week making more progress with my scrappy pineapples.

I started these blocks  as a way to use up some scrappy strings, and they have quickly become some of my favorite blocks.

The blocks are made in alternating rounds of lights and darks.  As each round is added, you don't need to have pieces that extend all the way to the edges of the block (like you would when making a Log Cabin,)
because those white strips get trimmed down to triangles before sewing the next round.


It was interesting to see the piles of trimmings leftover from each round as they collected across the top of my cutting mat, with lights and darks corresponding to each round

After 8 rows were sewn, my pineapples looked like this:

 Note that each block still needed an outer corner:

The instructions that come with the ruler, suggest adding one more strip of dark fabric to each corner and then trimming:

Instead of reaching for a new strip for the corners, I rummaged around in the pile of trimmings and found cast off triangles that would do the job:

I sewed a triangle to each corner, and pressed them open:

Then one final trim.

One advantage of using the triangles on the corners is that they help stabilize what would otherwise be all bias edges.

Here are my nine scrappy pineapple blocks:

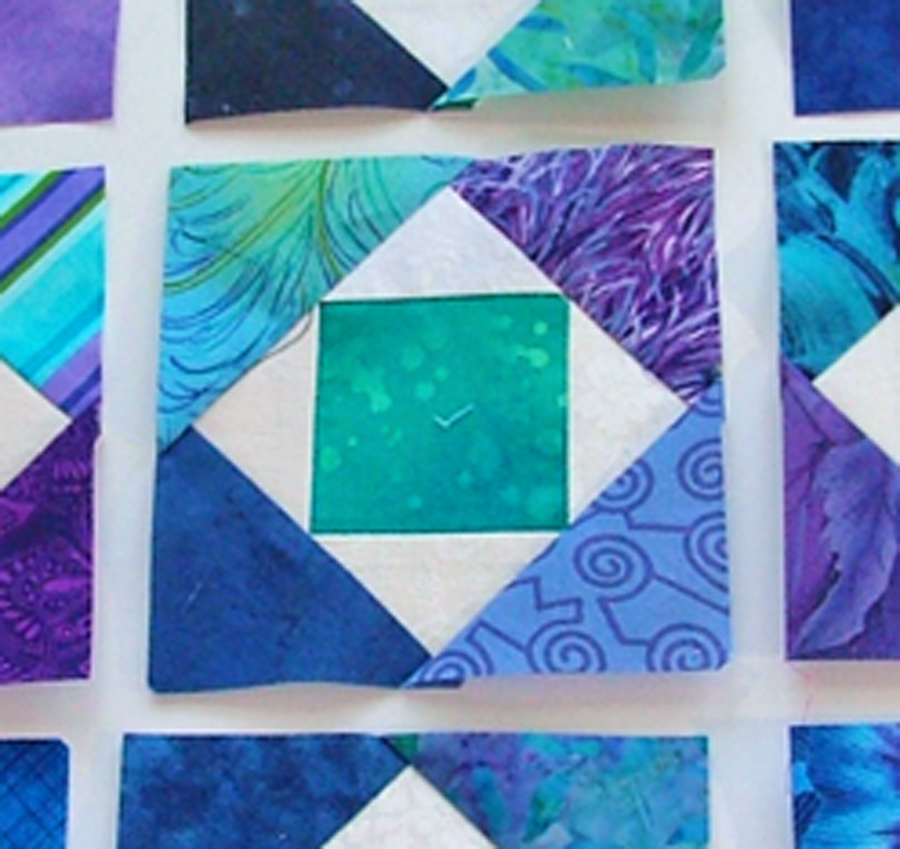
I like the way they look with the white showing through between each block, so I will be sewing them together with white sashing strips.   I looked in my scrap pile to see if I had something white that I could use, and I found this:

Shh, don't tell anyone that if you look closely you will see it is printed with snowflakes.  Actually, with the heat wave we are currently experiencing, it's nice to be reminded of snow. 😄


post signature

Sunday, July 14, 2019

Scrappy Strippy Pineapple


A few months ago, our guild had a silent auction of quilting gizmos and gadgets.  I was lucky enough to "win" a Pineapple Trim ruler for the tidy little sum of only $4.00. 
A very good deal since the ruler usually goes for about $25.00 at a quilt shop, and this one was even still in it's original shrink wrap! 

How can you take a bargain like that and improve that value even more?  Well, you use your $4.00 ruler to make a quilt using only scraps.  Luckily,  I had the perfect supply of those.

For years, whenever I have leftover scraps  that are long and narrow, I put them aside in their own drawer.


One day last week, I decided it was time to pull out the drawer and  see what was in there that I could use to make a Scrappy Pineapple quilt.  There were layers and layers to discover.  This was just under the top layer.

and this was what was stashed under that one:
And that wasn't even the bottom!

Eventually, I collected an impressive stack of "cool" tones of mostly blues and purples:

and also a collection of lights and whites:

I selected 9 colored strips from which I cut the center squares for the Pineapple blocks.

Then surrounded each square with the first round of lights:

I wasn't sure about mixing the bright whites with the off whites, but I decided to go for it.  After trimming with the Pineapple ruler, this is how they looked.

Then the real fun began, digging into that pile of cool toned blues and purples to find fabrics for the next round.  Nine blocks and nine trims later, and I had these:

Can't wait to see how this continues to develop! 


post signature

Tuesday, July 9, 2019

Pattern Testing

Back in January, Beth Helfter of EvaPaige Quilt Designs put out a request for pattern testers and I volunteered to take part.   The test block would be made in shades of teal, lime and magenta and, being a jewel tone kind of gal, I knew I wanted to play.


Beth has engineered a new way to make half square triangles with lots of variety that she calls "accordion sewn". She asked her testers to make two blocks, one using traditional methods for making half square triangles and the second one using her method.

My first block used 2 teals and two limes and looked like this:

For the second, accordian sewn block, you start with many different teals and limes and cut them into squares.

You lay them out in the order specified in the pattern and then sew them together accordion style.

Pattern testers from all over were posting their completed accordions on Beth's Facebook page.  I couldn't help but have a little fun with my photo:

After you cut apart your caterpillar accordion, you have a multitude of half square triangles, each paired with a different fabric.  Now it was time to make my second block:

Here are the two blocks, side by side.
You can see that the accordion sewn one, on the right, has a lot more variety, and, in my opinion is more lively.  I believe that was the point that Beth was trying to have us test out.

She asked us to send both blocks back to her, so she could use them as examples when she teaches her method.  As a thank you to her testers, we each got a free copy of her completed pattern after she published it.  Mine came in the mail about a month ago:

I'm not sure which block in the  cover quilt  is the one the I sent in, but I was able to find my traditional pieced block in the photo of the alternate settings:

Pattern testing turned out to be fun, especially doing it as a group, sharing photos of our blocks, and then seeing them all come together in a finished pattern that got delivered to my doorstep.  😀

post signature