Monday, September 18, 2017

Long Time Gone Rogue, at last

I had most of the parts of Long Time Gone finished, and it was time to make some decisions about how to handle the small filler spaces.  I started with the bottom right corner:

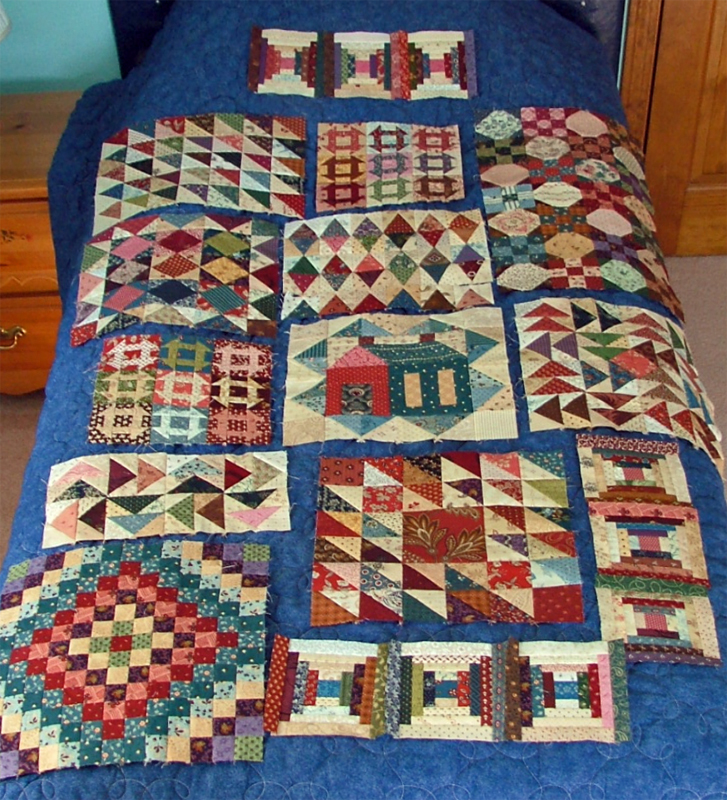
The pattern called for a double row of a checkerboard to fill in the bottom, so I made two rows of squares and laid it all out on the bed:


Then I thought, "why not separate those rows and put one above and one below the Flying Geese row?

I really liked the way that looked, and I decided to move the whole section up to the top:

The last big decision to make was choosing the sashing fabric.  I thought a medium value neutral would be a good choice to set off both the light and dark sections.   I cut a few strips and tried them out:

Nope.  Made the whole thing too muddy.  I decided that a light tone-on-tone fabric with a tiny print flower would be a better choice.

With the major decisions done, it was time to start sewing the whole thing together.  The quilt is constructed in 6 large sections which are then sewn together. At last,  after 6 months of work, and over 2,500 pieces, here it is:

 It was the most challenging thing I have ever undertaken, but I enjoyed it immensely, and it was certainly never boring.   I don't think the photo does it justice, quite frankly.

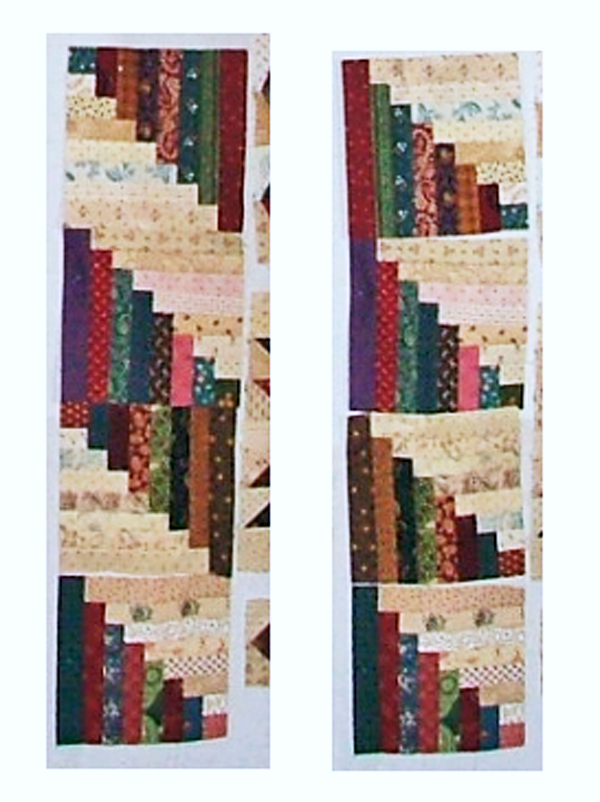
After all the sorting and cutting, my previously organized stash of Civil War Repro fabrics looks like this:
At least I managed to keep the lights and darks in separate piles. 


Of course, I still have to figure out how it will be quilted, and I will add some kind of border,  but for now, I'm enjoying just seeing it all in one piece on the bed in the spare room.


post signature

Friday, September 1, 2017

Bird's Eye View

Progress stalled on Long Time Gone because the various parts had outgrown the spare bed.

I wanted to see  how all the pieces were going to look when joined in the final layout, but didn't want to resort to working on the floor.

Luckily, my quilting friend, Rosemary had a portable design wall, and she let me borrow it.  At last, I could spread out the quilt components in their proper places and  see how things were going to look.

Most of what was left was to make were little filler blocks, but the one large area in the center of the bottom half was reserved for 4 half-log cabin blocks.    I turned to my scraps, and selected the strips for the dark half of the log cabins;

Little by little, I started building my half-log cabin blocks, trimming each step as I went.

It took  a few rounds before the familiar log cabin started to emerge.

After a few more rounds, I had my four log cabins ready to go.   I'm not yet sure which way I will rotate them in the final layout.  Here are a couple of options:
Here is how the design wall looks so far:

There are a few empty areas on the quilt will have filler blocks to fill in the spaces.  I turned to the collection of small squares that I had been making all along in anticipation of the filler blocks, and began experimenting.

Lots of little squares to play with.
 I'm so glad the day was cool enough so I did not have to turn on the fan!

The pattern called for a checkerboard effect as shown on the right, but I kind of liked the totally scrappy look on the left.

In the end, I created these:
I also made a couple of other filler blocks as well that I don't have individual photos of.

I'm just about done making all the units I need to complete the top, except for the sashing.

Number of pieces in the Log Cabin blocks:  60
Number of pieces in the filler blocks:          179
Number of pieces in the quilt so far:          2414


post signature